I have seen a lot of signs on Pinterest that give me a giggle so I have been trying to make some with my own spin on things using up some of the supplies we have around the house. I really like a lot of the laundry signs or displays for missing socks. Everyone has missing socks, and I am tired of the pile on my dresser, so I thought I needed a sign. I used up some left over paint from one of the bedrooms to paint a board. Then I ran some washi tape along the top. I used my Silhouette to cut out the saying in vinyl and attached that. I ran washi tape over the top of some clothespins and then mod podged over it to make them stick. I coated the whole board in polyurethane and let it dry completely. Then I used tacky glue to attach the clothespins to the board. Some of my inspiration for this came from Here and Here. However if you type in Missing Sock in Pinterest you will get a whole slew of fun options!
Showing posts with label mod podge. Show all posts
Monday, August 26, 2013
Wednesday, July 31, 2013
Dresser Re-Do
This is the dresser that Sharla started with:
She had some help from Nic and they made it into this:
They took pages from Harry Potter and Mod Podged them to the dresser. Very Cool!
Here is a view of the top of the dresser.
Sunday, July 15, 2012
Workout Inspiration
I will take any extra push I can get while working out. I saw this saying floating around Pinterest and it made me chuckle. I took a small canvas I had, cut out the lettering and tears from vinyl with my Silhouette and attached it with Mod Podge. It now hangs by our treadmill.
There are several races that my husband and I have done over the years and at one point we just started throwing our racing bibs into a file folder in the file cabinet. We like to write the race, date, and our time on the back of the bib. I thought there has got to be something better to do with those. I did a google search and it brought me to Etsy, where a lot of people seem to have the same idea. I wanted us to still be able to flip through our bibs so I opted to put them on big rings, with the most current bib facing front. The quote is one I saw on a t-shirt at a race. I cut out everything in vinyl on my Silhouette and used Mod Podge to seal it to the black canvas. One thing I discovered is that apparently vinyl does not like to stick to plain canvas. I didn't have this issue before when I did canvases, but than again I painted all of those before I stuck vinyl to them. I screwed cup hooks into the bottom of the canvas to hang the rings. I was pretty happy with how it turned out. So was the hubby - thank goodness as it was part of his birthday present!
Saturday, March 17, 2012
Glitter Shoes!!!
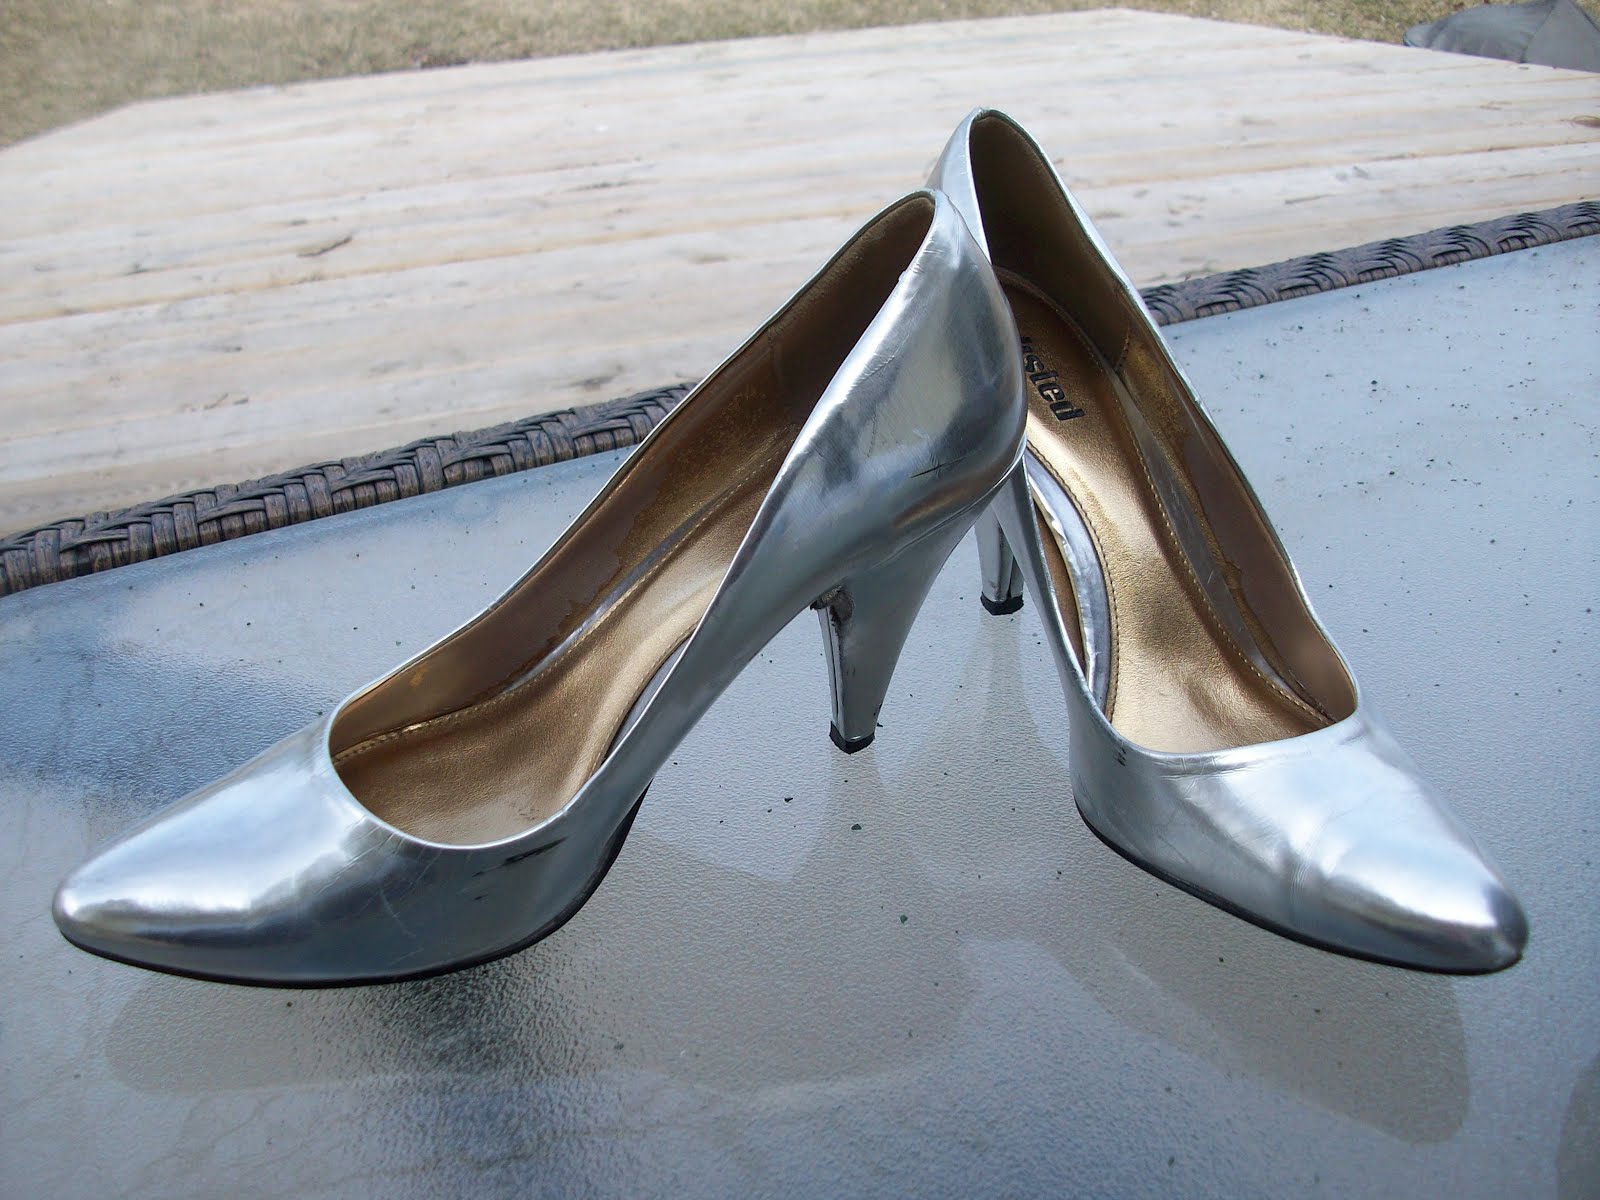
My sister gave me an awesome pair of silver heels a few years ago and I have worn them so much they are starting to fall apart but I don't have the heart to throw them away so I thought what better than to revamp and GLITTER them!!! Thanks to pinterest I stumbled upon this tutorial and decided to give it a whirl. I mixed loose glitter and satin mod podge together to make a paste and brushed it on with a foam brush. I did about four coats to fully cover the shoes and let it dry in between for about thirty minutes. My end product was a little lumpy if you look real close but when I have them on I don't think it is very noticeable - you just see GLITTER! (My husband said they look like snow :) The glitter seems to stay on pretty good but they recommend that you spray a coat of sealer over top to make sure it won't rain glitter when you walk. I am curious to see how they hold up with wear but for right now I am pretty excited about my new flashy shoes! (Pictures are before, first coat, and after results)
Subscribe to:
Posts (Atom)